How To Convert A PDF To Vector Or JPEG In Adobe Illustrator
In this guide, we will walk you through the process of uploading 360 videos to YouTube from DaVinci Resolve. Follow these step-by-step instructions to ensure your videos are optimized for a truly interactive viewing experience.
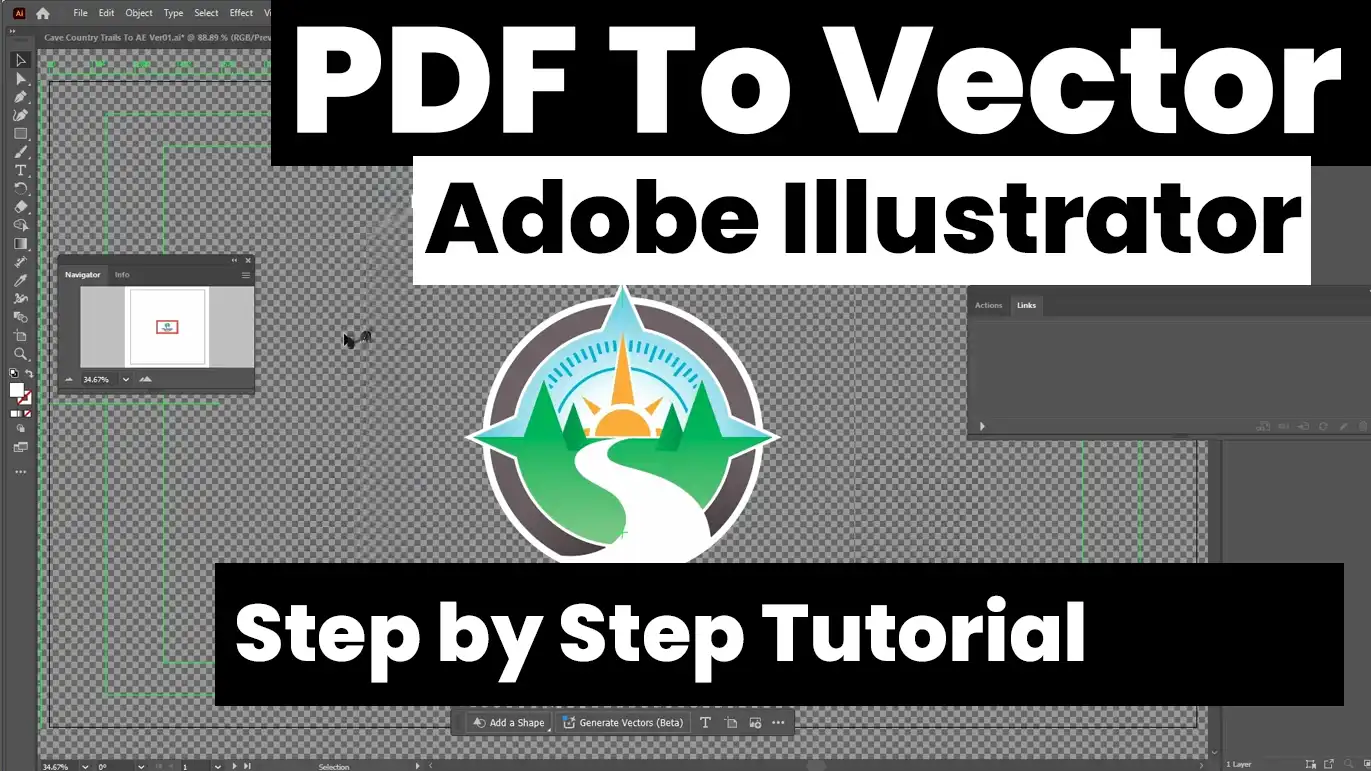
Learn how to easily extract and edit images from a PDF using Adobe Illustrator with this step-by-step tutorial. Perfect for illustrators and designers working with complex PDFs.
## How to Extract and Edit Images from a PDF Using Adobe Illustrator
If you’ve ever found yourself struggling to separate images from a PDF, this tutorial is for you. Whether you’re an illustrator or a designer, Adobe Illustrator offers a straightforward way to extract and edit images from a PDF. Follow this step-by-step guide to make your workflow more efficient.
### Step 1: Create a New Document
1. Open Adobe Illustrator.
2. Go to `File > New`.
3. Since I’m working with 4K video, I’ll select `4K UHD` and click `Create`.
### Step 2: Place the PDF
1. Go to `File > Place`.
2. Find the original PDF you want to work with and click `Place`.
3. Position the PDF on your screen and resize it by holding down `Shift` and dragging the corners.
### Step 3: Open the Links Panel
1. Go to `Window > Links` to open the Links panel.
2. Click on the document you just placed.
3. Click the hamburger menu (three horizontal lines) in the upper right corner of the Links panel.
4. Select `Embedded Images`. If a warning about missing fonts appears, you can ignore it and click `Close`.
### Step 4: Make the Document Editable
1. Use the Direct Select Tool (shortcut `A`).
2. Zoom in using the `Alt` button and the scroll wheel.
3. Click and drag around the item you want to edit. The document is now editable.
### Step 5: Select and Copy the Image
1. If you can’t see what you’re clicking and dragging, press `Ctrl + Shift + D` to toggle the non-transparent background.
2. Click and drag to select the vector file.
3. Copy the selection with `Ctrl + C`.
### Step 6: Create a New Document and Paste the Image
1. Go to `File > New` and select `4K UHD` again.
2. Click `Create`.
3. Click anywhere on the screen and hit `Ctrl + V` to paste the image.
### Step 7: Resize the Image
1. Use the Selection Tool (shortcut `V`).
2. Hold down `Shift` and drag to resize the image to your desired dimensions.
### Step 8: Export the Image
1. Go to `File > Export > Export for Screens` (shortcut `Ctrl + Alt + E`).
2. Choose `JPEG` as the format since you don’t want a transparent background.
3. Keep the scale at 1x (3840 x 2160 for 4K UHD).
4. Save it in your desired location by clicking `Select Folder`.
5. Unselect any additional artboards if necessary and click `Export Artboard`.
### Step 9: Verify the File Size
1. Right-click the exported file and select `Properties > Details` to ensure it’s the correct size (3840 x 2160).
### Optional: Save as a Vector File
1. If you need to save the image as a vector file, go to `File > Save As`.
2. Choose either `SVG` or `Illustrator` file format.
### Conclusion
And that’s it! You’ve successfully extracted and edited an image from a PDF using Adobe Illustrator. This method is invaluable for illustrators and designers who need to work with complex PDFs. Hopefully, this tutorial has made the process clearer and more intuitive for you.
For more tutorials and tips, check out our [blog](#) or follow us on [social media](#).